“A Plump and Perky” Leaf Turkey Craft
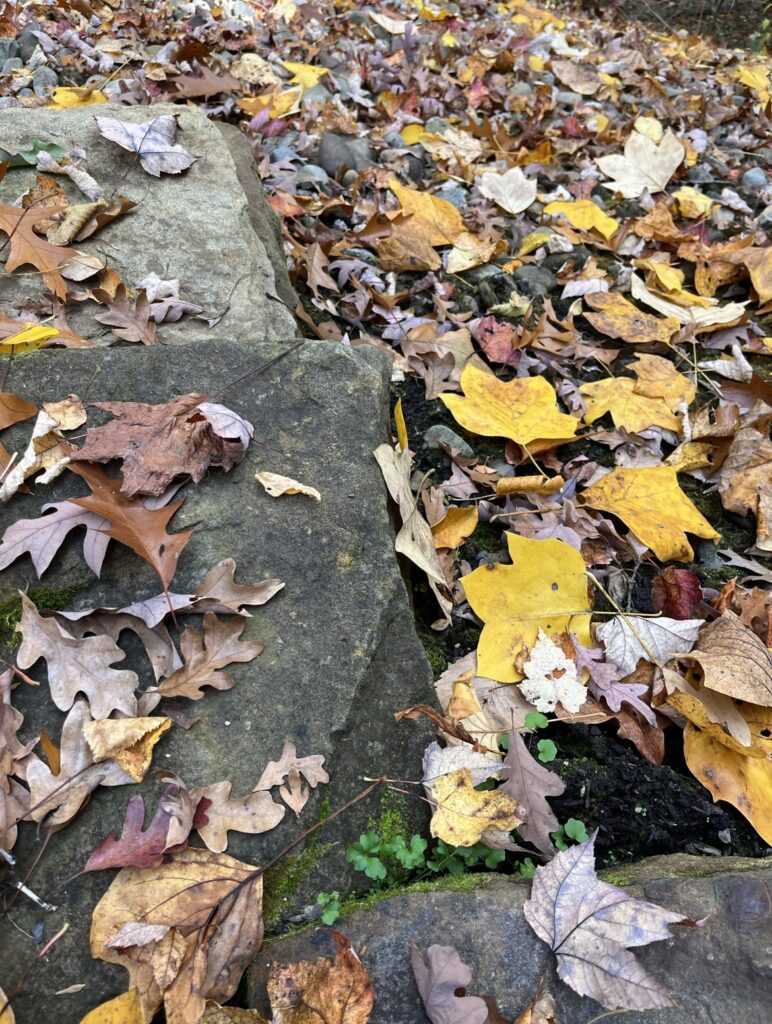
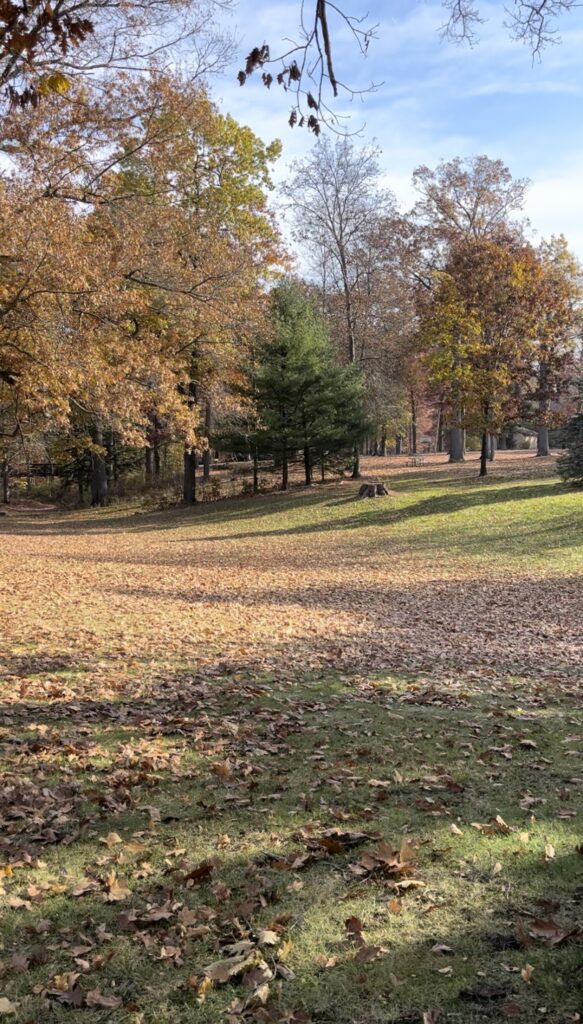
Fall is such a beautiful time of year where we live in Northeast Ohio. The leaves turn stunning shades of red, orange, yellow, and brown before slowly drifting off the sturdy branches that once held them.
This post may contain affiliate links. I may earn compensation when you click on the links at no additional cost to you.
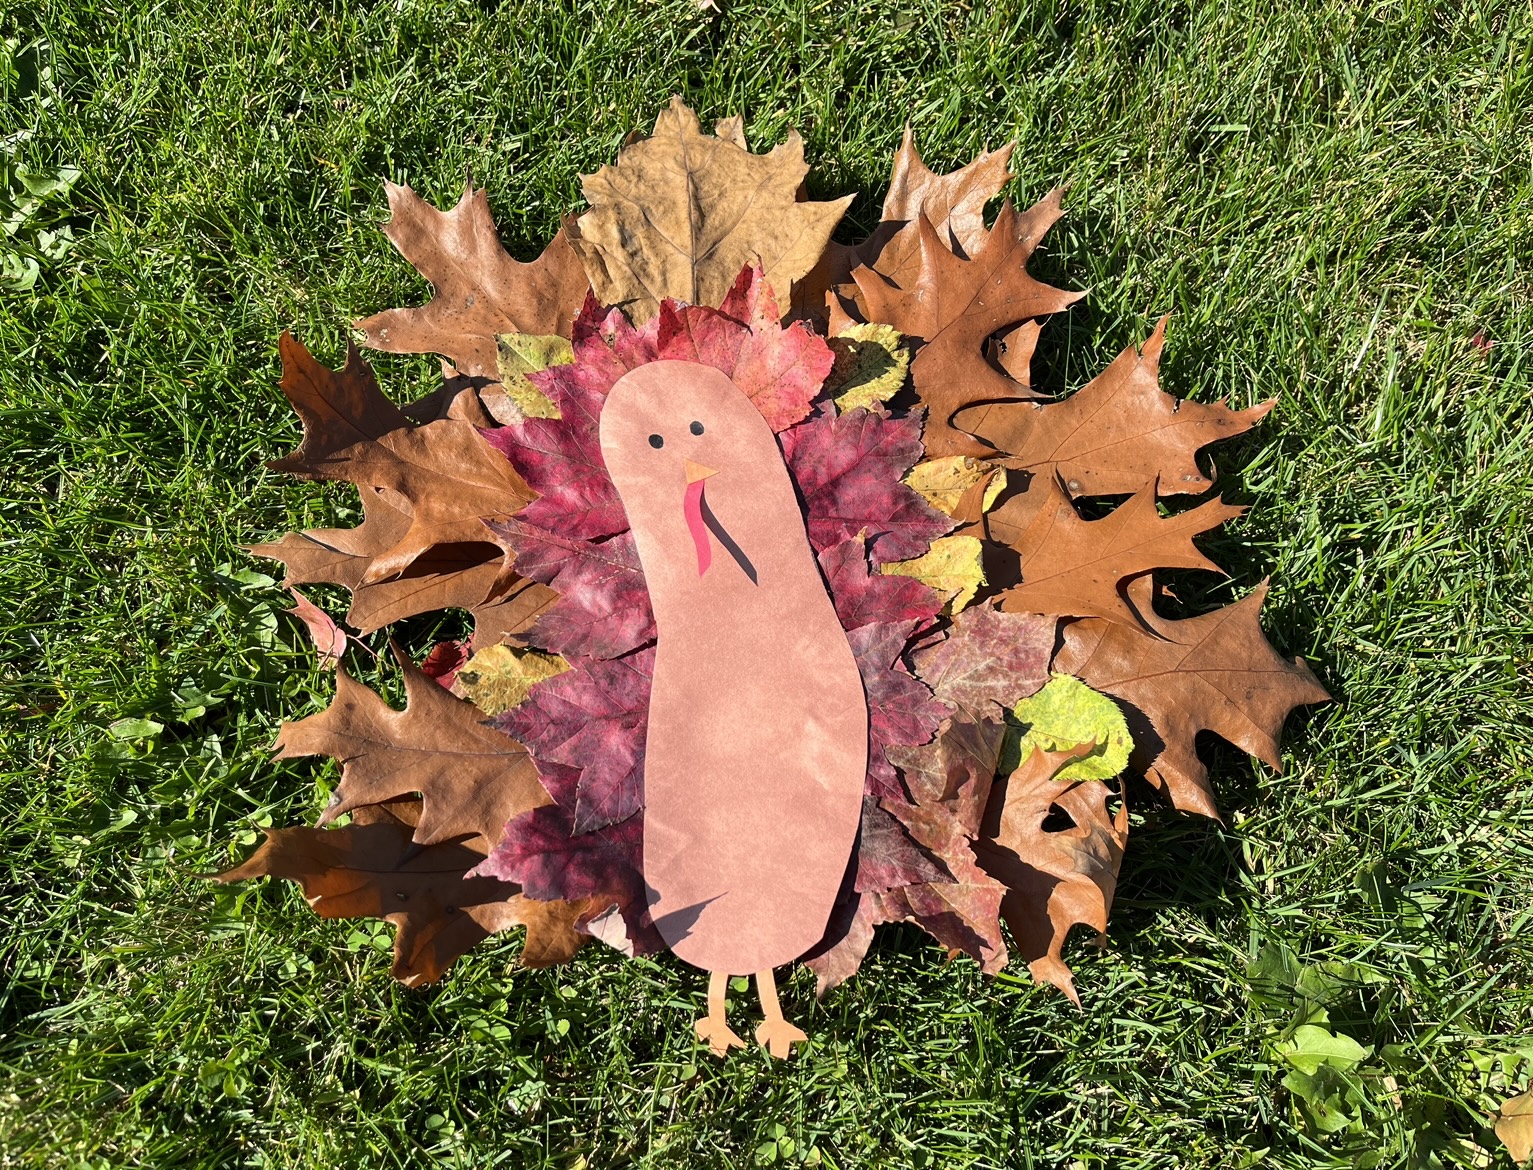
One of my favorite fall crafts utilizes the remarkable leaves that nature willingly sheds each year. Leaf turkeys are an easy way to repurpose the leaves into an adorable craft project.
The first time I made this craft was when I was student teaching in a second grade classroom almost twenty years ago. Over the years, I have had multiple classes of students complete the craft, as well as having my own children create their leaf turkeys.
Before introducing the activity, I always start off by reading a children’s book. The book I typically choose to read is A Plump and Perky Turkey by Teresa Bateman. It is one of my favorite Thanksgiving-themed fiction children’s books. If you are looking for a great non-fiction children’s text that explains Thanksgiving, the book Thanksgiving Is… by Gail Gibbons is wonderful.
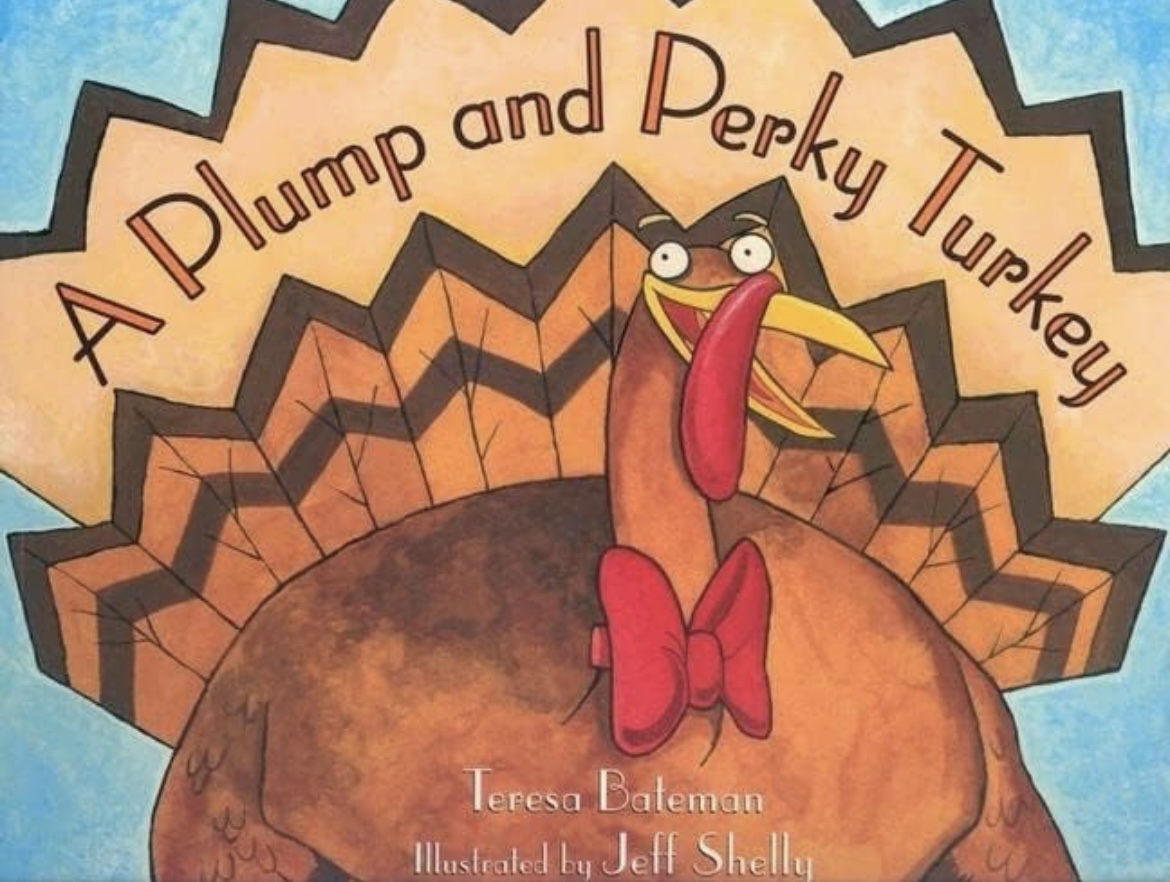
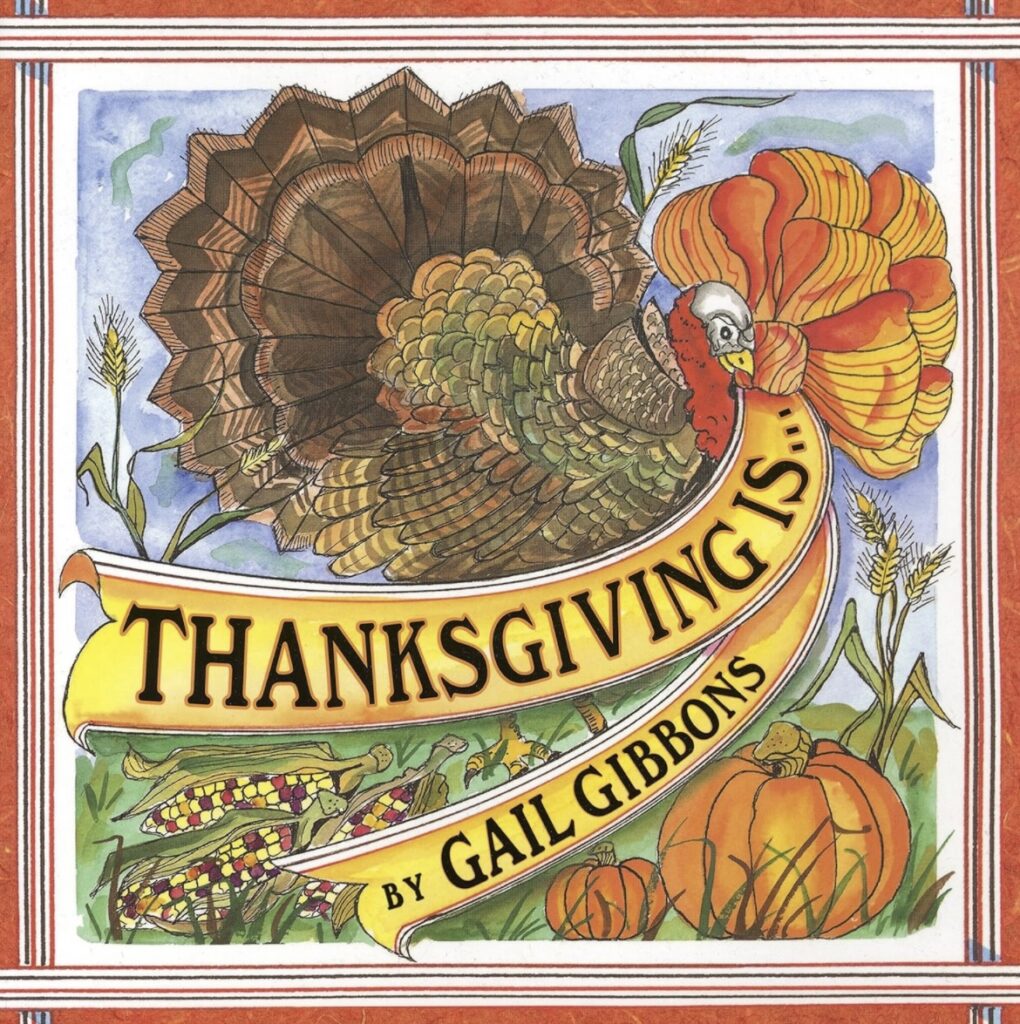
The project itself is straightforward and includes taking a walk to gather the most important supplies for the craft, some of those beautiful leaves that nature shares with us every autumn.
How to Make a Plump and Perky Leaf Turkey
Materials:
- approximately 30 leaves in various sizes, shapes, and colors
- 1 sheet of brown construction paper
- 1 sheet of red construction paper
- 1 sheet of orange construction paper
- scissors
- glue
- black marker
Instructions:
1. Walk through your neighborhood and collect leaves of various sizes, shapes, and colors. Depending on the size of the turkey you want to create, approximately 30 leaves should be enough. Then head home to assemble your turkey.
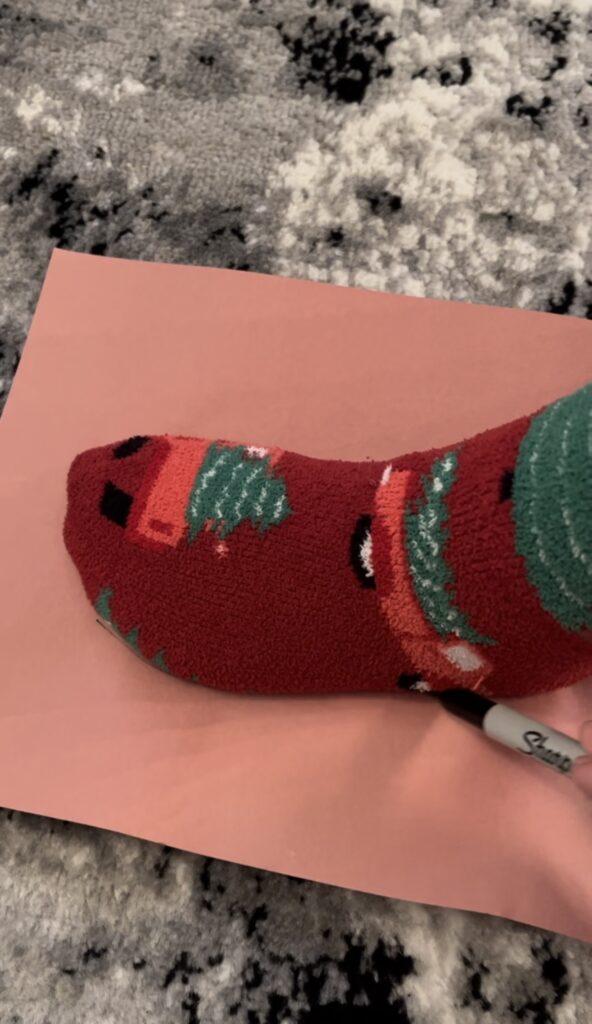
2. Trace your child’s foot on the brown construction paper. The foot shape will be the body of the turkey.
3. Cut out the brown body. Position the cutout so your child’s heel is the head of the turkey.
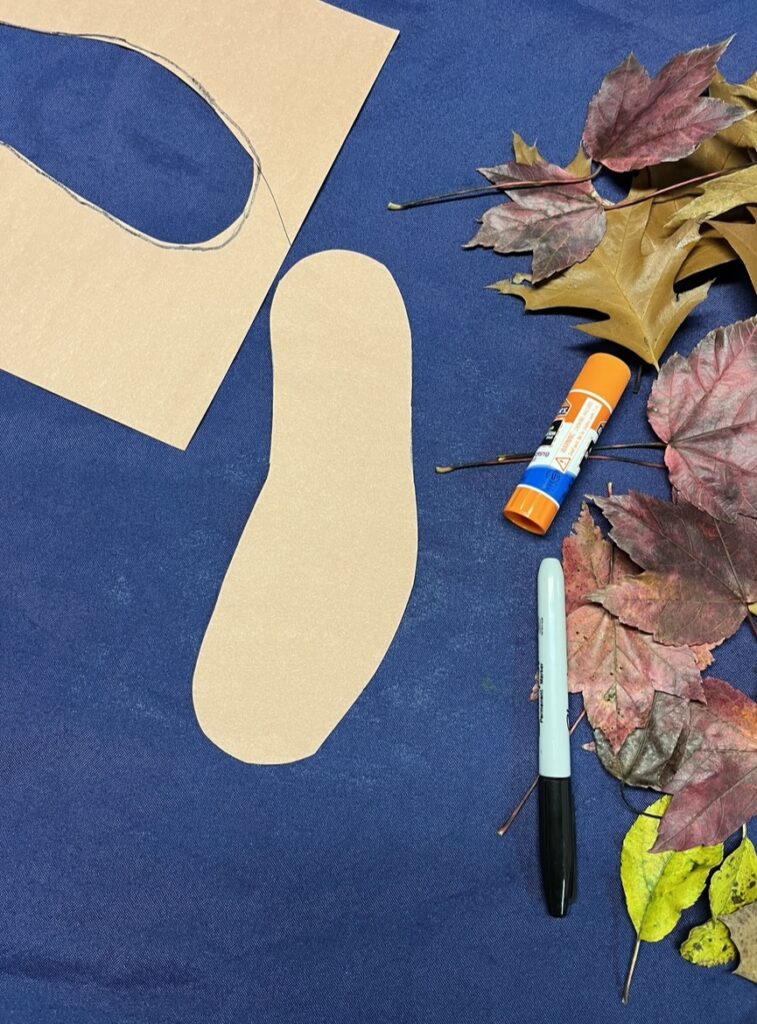
4. Begin gluing smaller leaves around the perimeter of the turkey’s body. Be sure the colorful side of each leaf is facing what will be the front of the turkey. You should see the back of the leaves when looking at the back of the turkey. You may want to trim off the stems of the leaves as you go.
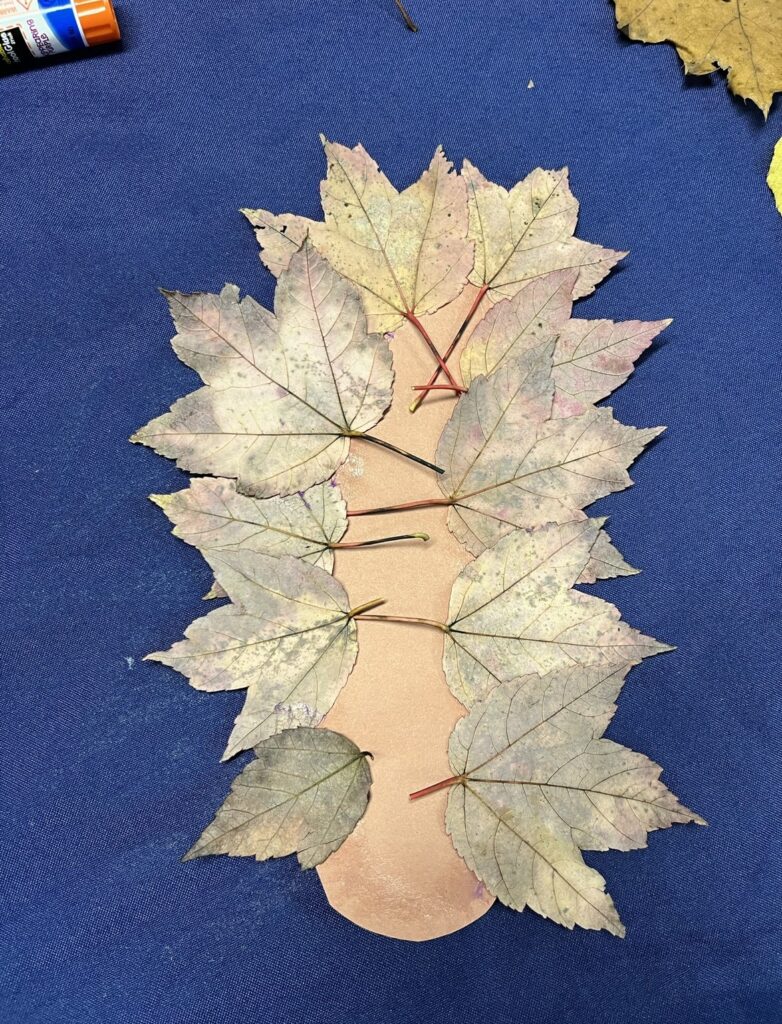
5. Once you have gone around the body, begin another layer of leaves around the turkey. This layer will be glued to the first layer of leaves. Again, the colorful side of each leaf should be facing what will be the front of the turkey.
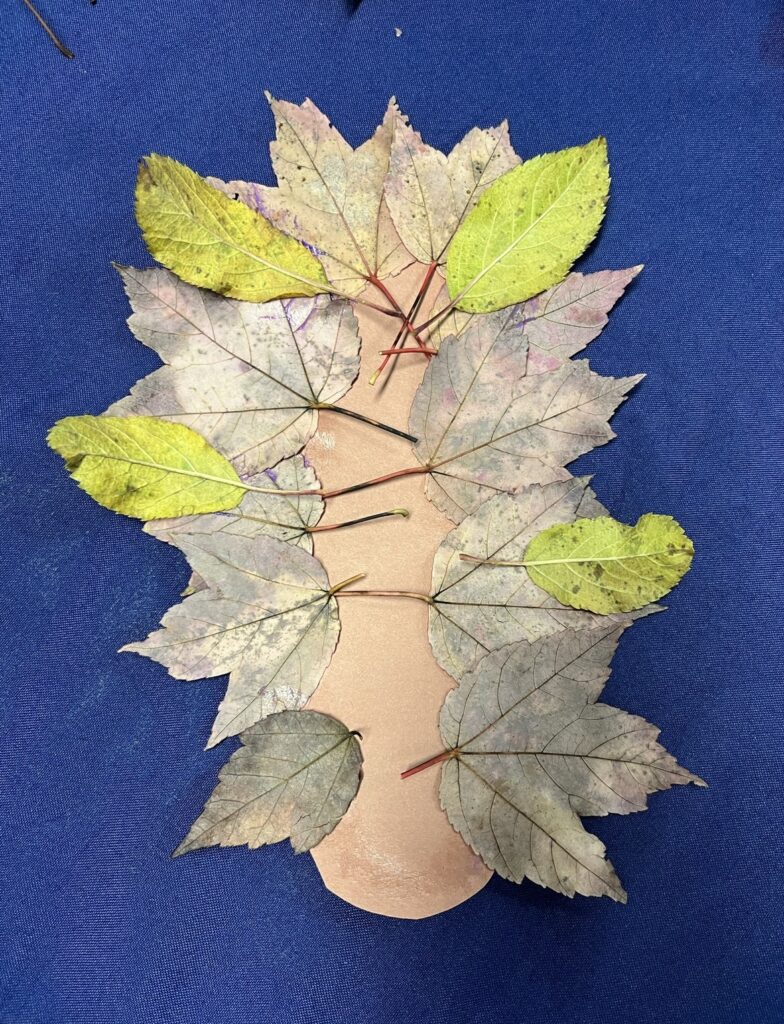
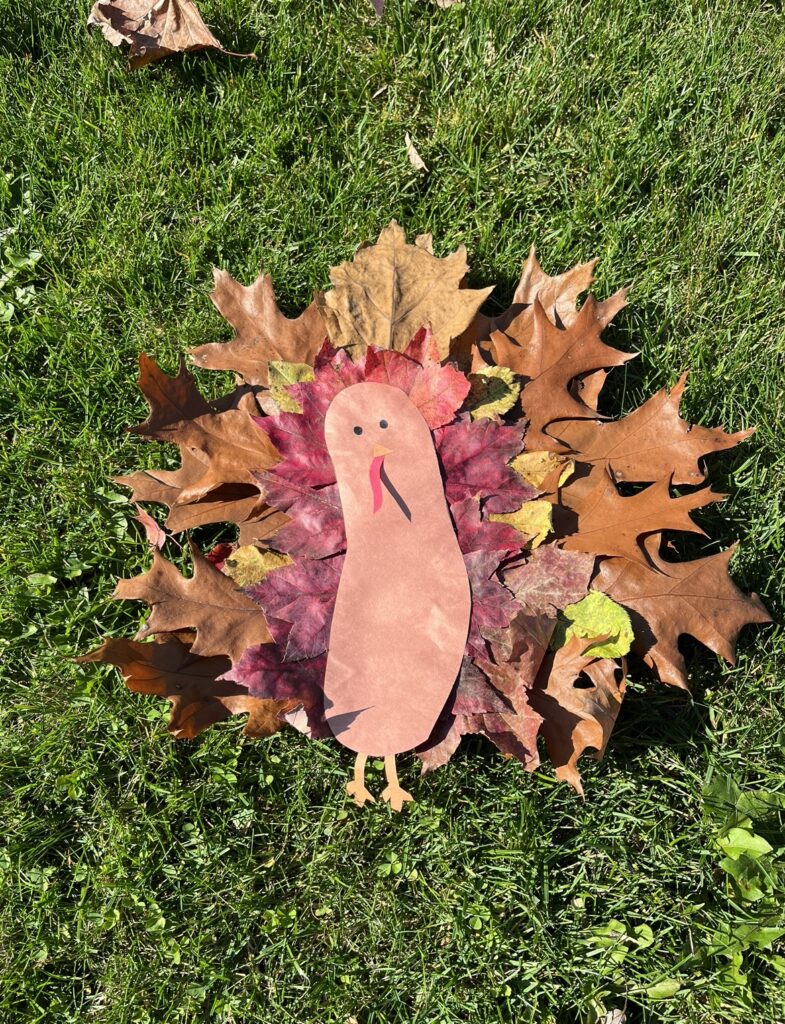
6. Continue this process until the leaf plumage is to your liking.
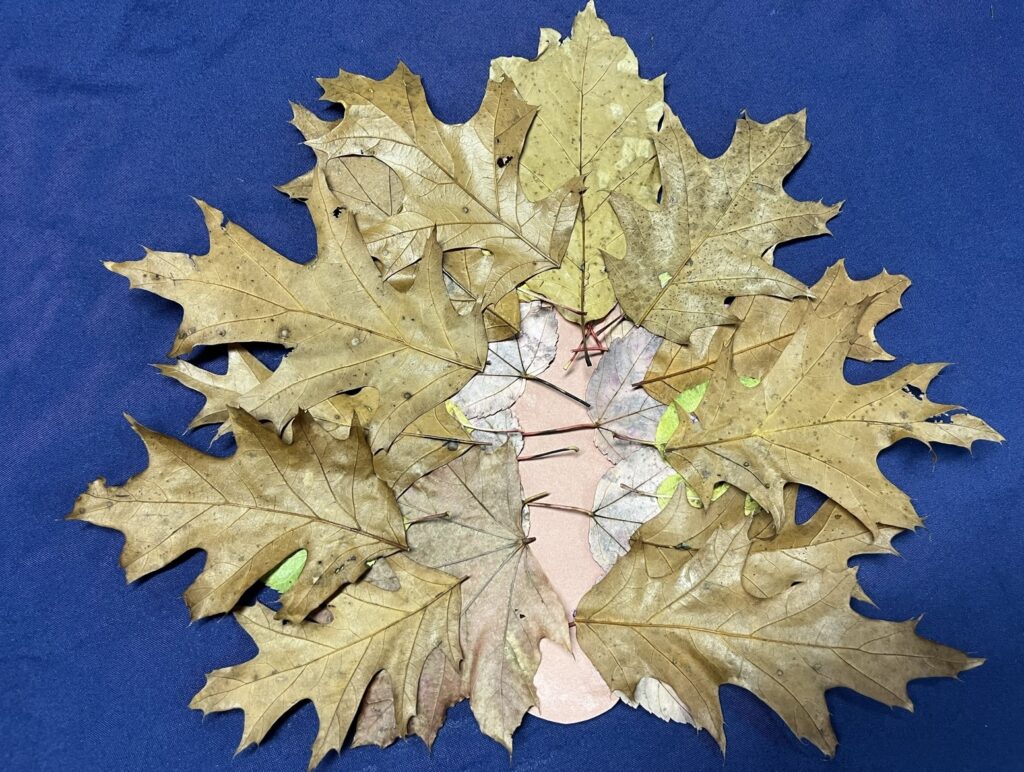
7. Flip the turkey over so you can see the front of the turkey with the colorful side of the leaves.
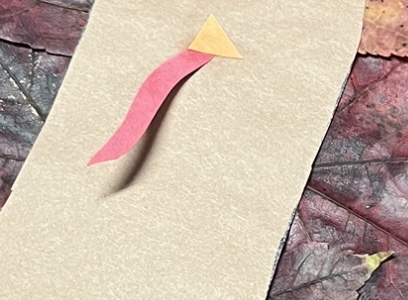
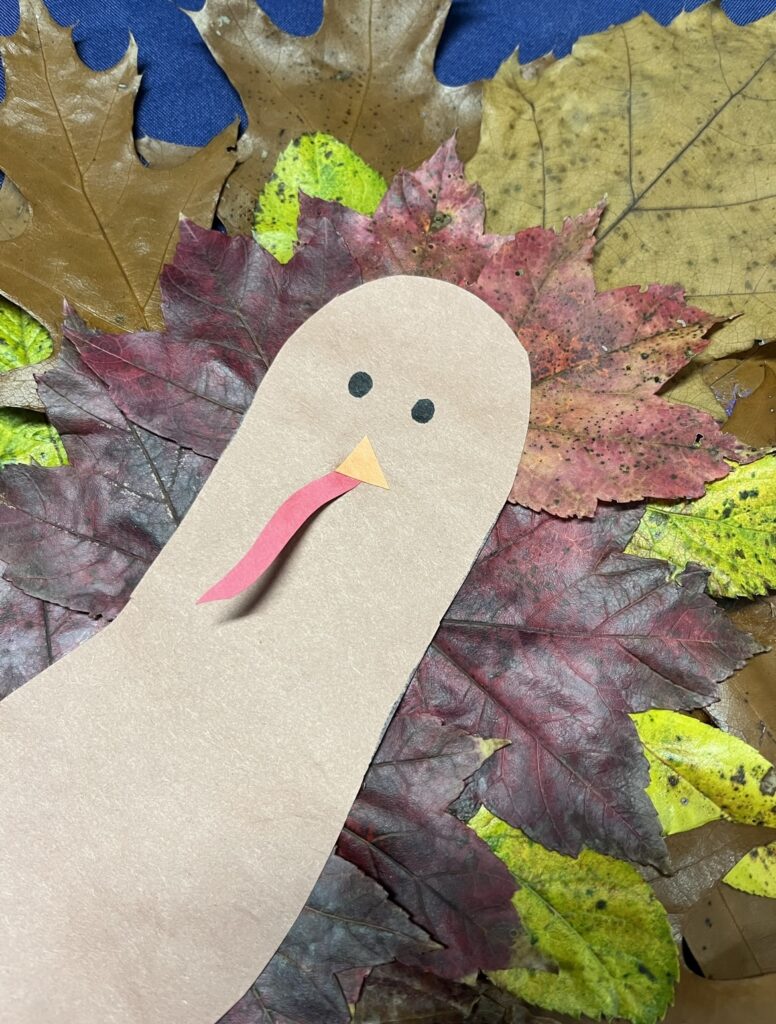
8. Cut out a squiggly shape (sort of like a small worm) from the red construction paper. This squiggly shape will be the turkey’s snood. Cut out a small triangle from the orange construction paper. This triangle will be the beak of the turkey. Glue the red snood on the middle of the turkey’s head. Glue the orange beak on the top portion of the red snood.
9. Use the black marker to draw two small eyes on the turkey’s head.
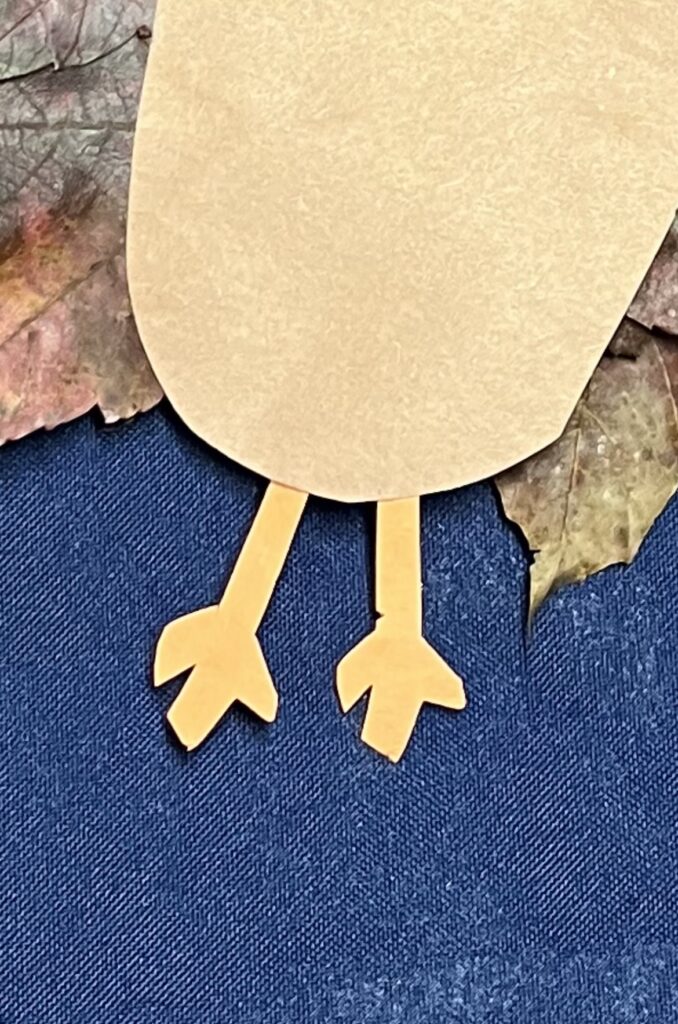
10. Cut out two legs from the orange construction paper. Glue the orange legs onto the bottom of the turkey’s body.
And voila, you have created your very own plump and perky leaf turkey.
Become part of the family!
Join my email list to be notified when new content is added.


